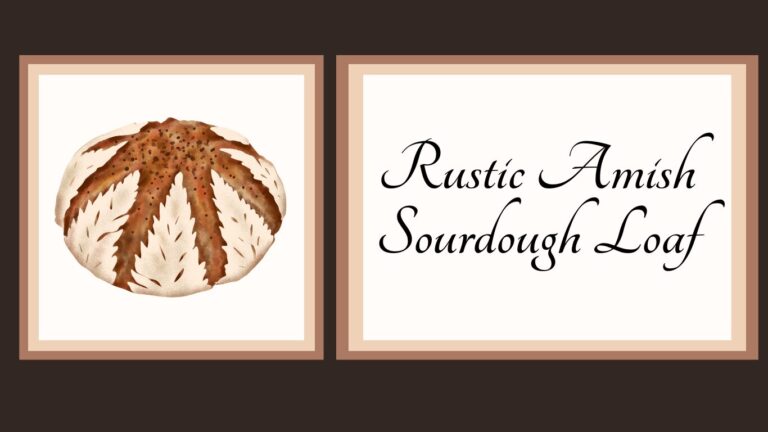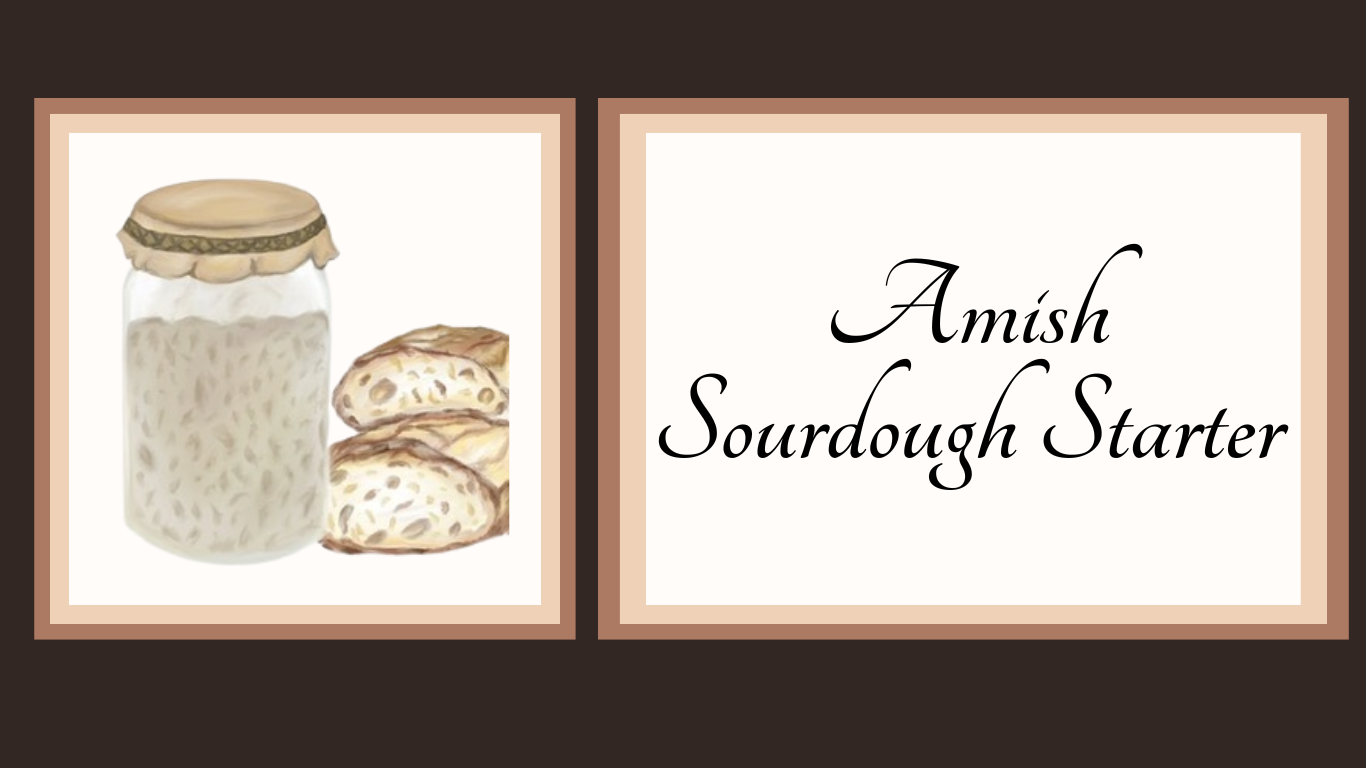
Amish Sourdough Starter
Getting Started
Amish sourdough starter—also known as Amish Friendship Bread starter—is a sweet, fermented base that’s been shared between home bakers for generations. It’s traditionally used for making the Amish Friendship Bread, which is a sweet, tender loaf that reminds me of a cinnamon cake. However, the Amish starter is versatile, extending far beyond the traditional friendship bread.
This post discusses how I make and maintain my own version of the Amish sourdough starter. I began with the tried-and-true recipe from Friendship Bread Kitchen, then made a few adjustments to better fit my baking style and needs. Most notably, I converted the recipe to gram-based measurements and customized the feeding process to create a more practical and consistent routine—especially helpful for small-batch artisan baking.

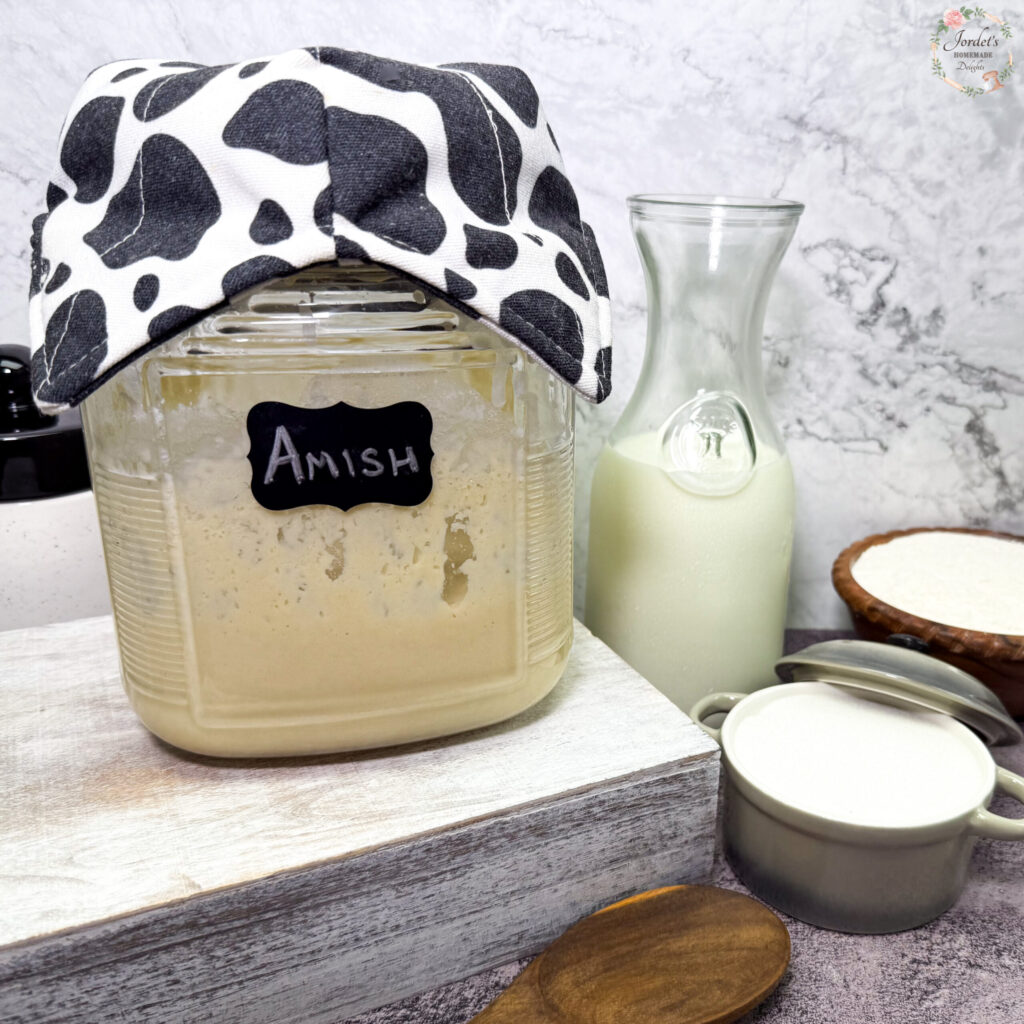
One of the charming traditions in sourdough baking is naming your starter. Since it’s a living culture that you feed, care for, and bake with regularly, many bakers treat it like a member of the family. I like to keep things simple—so my Amish sourdough starter is affectionately named Amish.
Whether you’re looking to start your own Amish starter or adapt an existing one, this guide offers a balance of tradition and flexibility to help you make it your own.
Why I Converted to Grams
While the original Amish Friendship Bread starter recipe uses U.S. customary measurements, I use the Ingredient Weight Chart from King Arthur to converted everything to grams. Here’s why:
- More Accurate Measurements: Weighing ingredients removes the guesswork. A “cup” of flour can vary depending on how it’s scooped or packed, but 120 grams is always 120 grams. That precision matters, especially for sourdough.
- More Consistent Products: With a more predictable feeding ratio, I get a more reliable starter. My loaves rise consistently, taste balanced, and have the texture I expect—batch after batch.
- Less Waste: By measuring exactly what I need, I waste fewer ingredients. I’m not tossing out extra starter just because I overfed or guessed wrong.
- Fewer Dirty Dishes: Using a scale means I can measure directly into the mixing bowl or jar—no need to dirty multiple measuring cups or spoons.
- Easier, More Accurate Pricing: Since I run a cottage bakery, knowing exactly how much flour, sugar, and milk go into my starter helps me calculate product costs more precisely. That’s essential for setting fair prices and managing inventory.
Amish Starter Process
The traditional Amish Friendship Bread process, which is explained beautifully in Amish Friendship Bread 101, involves a 10-day cycle of feeding and mixing, followed by dividing and sharing the starter.
While I love the idea of sharing, I’ve adapted my process to better fit my weekly baking schedule and reduce waste. Here’s what I do instead:
Following the basic process to create the starter
- Daily Stirring (Days 1–5): Using a glass jar, mix the starter ingredients: 7g instant yeast bloomed in 59 grams warm water, 120 grams all-purpose flour, 200 grams sugar, and 227 grams whole milk. Then, leave the jar, covered, on the counter and stir it daily with a wooden spoon. Don’t feed it until Day 6.
- Feeding (Day 6): Feed the starter with 120 grams all-purpose flour, 200 grams sugar, and 227 grams whole milk. I stir it well, cover it loosely, and let it sit at room temperature.
- Feeding (Day 10): Feed the starter with 180 grams all-purpose flour, 300 grams sugar, and 340.5 grams whole milk. It’s ready to use.
- Weekly Use & Refresh: I either bake with the starter at least once a week, or refresh the starter with a feeding to keep it active and ready for the next bake.
Maintaining and using Amish starter
After the initial 10-day fermentation cycle, maintaining an Amish sourdough starter is wonderfully simple. I choose one day each week to feed the starter—Monday, in my case—because it’s the beginning of my baking week and already a prep-heavy day. Feeding it then fits naturally into my routine, but you can choose any day that works best for you.
Each week, on the same day, I feed the starter with the same measurements used on Day 10: 180 grams of all-purpose flour, 300 grams of sugar, and 340.5 grams of whole milk. This keeps the starter active and provides plenty of excess to use throughout the week. I bake with the fed starter once it has doubled in height, which indicates it’s fully active and ready for recipes that call for a lively culture. Throughout the rest of the week, I use sourdough discard—the unfed starter—for recipes that don’t require an active starter. If I end up baking more than usual, I simply give the starter an extra feeding. That’s one of the best things about Amish starter: it’s incredibly low-maintenance and flexible, making it easy to work into any baking schedule.
Covering Your Starter
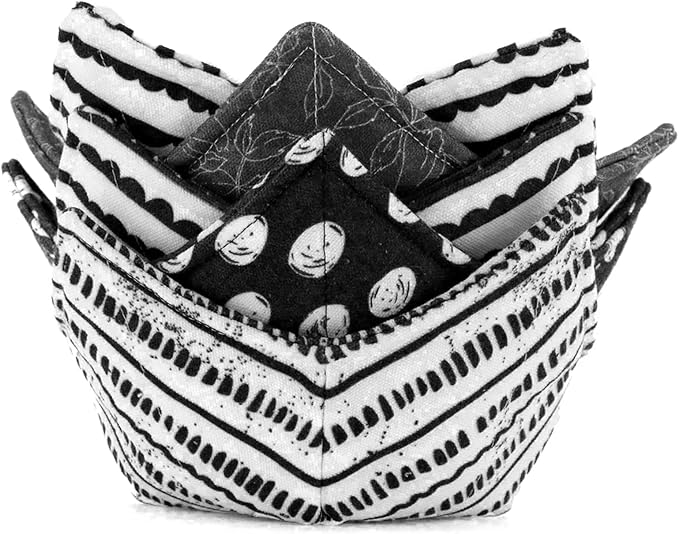
It’s important to keep your Amish sourdough starter loosely covered to protect it from dust and pests while still allowing it to breathe. I’ve found that cotton bowl snuggies work especially well for this. They stay securely in place, are reusable, and come in a wide variety of fun patterns. Below, I’ve included photos of some of my favorite microwave bowl snuggies—just click on any image to view them on Amazon. I personally love anything with an animal print, so that’s what I use! Unfortunately, Amazon has been out of the ones I bought. They add a little personality to my kitchen while keeping my starter happy and well-protected.


Choosing the Right Tools for Your Sourdough Starter
When it comes to maintaining a healthy Amish sourdough starter, the container and utensils you use can make a real difference. Glass jars are my top choice for storing sourdough starter. They’re non-reactive, easy to clean, and—best of all—transparent, so you can easily monitor your starter’s activity. Watching for bubbles, rise and fall, or any signs of mold or hooch becomes effortless when you can see straight through the jar. Plus, unlike plastic, glass won’t absorb odors or flavors over time.
In my experience, many of the typical sourdough starter jars just aren’t durable enough—they tend to be too thin and prone to breaking, especially after a few trips through the dishwasher. I recommend looking for thick, heavy-duty glass jars that can handle regular use and cleaning. I found my largest jar, a 1-gallon cracker jar, at Walmart, but there are other great options at local stores and on Amazon.
There’s often some confusion around using metal with sourdough due to the starter’s naturally acidic nature. While it’s true that certain metals—like aluminum, copper, or cast iron—can corrode or react with acidic foods, stainless steel is generally safe for both short-term contact (like mixing) and even storage, as long as it’s clean and in good condition. So don’t worry if you prefer a stainless steel bowl or spoon—they’re perfectly fine for your starter.
That said, many bakers still prefer using glass bowls and wooden spoons when stirring their starter. Wooden utensils are naturally non-reactive, gentle on containers, and traditionally associated with sourdough baking. They may not be necessary, but they’re a reliable and classic tool—and they just feel right in a cozy, cottage kitchen.
An Unusual (but Useful) Discovery
One week, I found myself unexpectedly low on whole milk—something every baker runs into from time to time. I only had 200 grams of milk, so I decided to get creative. I supplemented it with 100 grams of heavy whipping cream and 40.5 grams of water to make up the difference. What happened next was surprising: the activity of the starter was off the charts. It bubbled up rapidly and nearly doubled in just a few hours—I could have baked with it that same afternoon! Even more impressive, it stayed highly active for a couple of days after. This accidental experiment showed me that adding a little extra fat (from the cream) can really boost fermentation. So, if you’re ever in need of active starter on short notice, this is a trick worth trying.
A Living Tradition
What I love most about this starter is how alive it feels—bubbling with wild yeast, shaped by time and care. And while I still hold the traditional recipe in high regard, adapting it to suit my kitchen has made it even more meaningful.
If you’re new to sourdough or curious about trying a sweeter, more forgiving starter, I highly recommend visiting the Friendship Bread Kitchen. Then, don’t be afraid to make it your own!
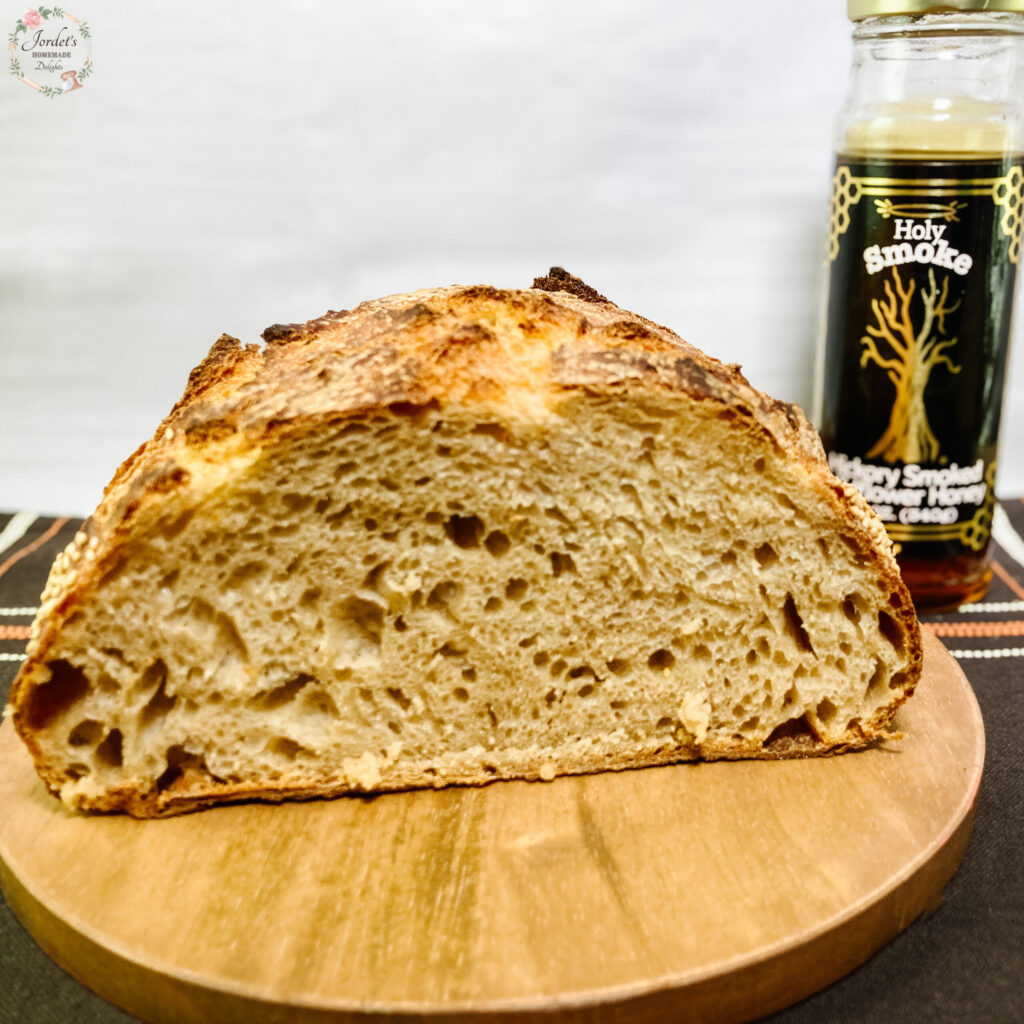
Stay tuned for more posts where I share how I use this starter in both sweet and savory bakes—like this week’s Honey Sesame Artisan Loaf made with hickory smoked wildflower honey.


Amish Sourdough Starter
Equipment
- 1 Large glass jar (I suggest using at least a 32-ounce jar.)
- 1 Wood or Plastic Spoon
- 1 Scale or Measuring cups
- 1 Jar cover
Ingredients
Initial Starter
- 7 grams (1 packet) instant yeast
- 59 grams (¼ cup) warm water, approximately 110℉
- 120 grams (1 cup) all-purpose or bread flour
- 200 grams (1 cup) granulated sugar
- 227 grams (1 cup) whole milk
Day 6 Feed
- 120 grams (1 cup) all-purpose or bread flour
- 200 grams (1 cup) granulated sugar
- 227 grams (1 cup) whole milk
Day 10 & Maintenance Feed
- 180 grams (1½ cups) all-purpose or bread flour
- 300 grams (1½ cups) granulated sugar
- 340.5 grams (1½ cups) whole milk
Instructions
Initial 10-day Cycle
- Day 1: Mix yeast and warm water in large glass jar. Allow the yeast to bloom for 10 minutes.Mix remaining Initial Starter ingredients in glass jar with bloomed yeast. Stir well and cover loosely with plastic wrap or a cloth cover. Leave starter at room temperature.
- Days 2 – Day 5: Mix starter each day.
- Day 6: Feed starter with Day 6 Starter Feed ingredients.
- Days 7-9: Mix starter each day.
- Day 10: Feed starter with Day 10 & Maintenance Starter Feed ingredients.Bake with active starter on day 10, or use starter for discard recipes between day 10 and the next feed.
Starter Maintenace & Use
- Choose a day (e.g., Monday) to feed the starter each week. Feed the starter with the Day 10 & Maintenance Starter Feed ingredients. The starter should be reduced by at least half, leaving 1 to 11/2 cups, before feeding.* See notes regarding reduced and excess starter.
- For recipes that call for active starter, use the starter when it has approximately doubled and is bubbly with an almost frothy appearance. The active state usually occurs between 3 and 12 hours but may last up to 24 hours after feed. Activity of starter is dependent on its environment, so growth and appearance are key to determine active state.
- For recipes that call for discard, use the starter after its active time period (usually after 24 hours) and up to the next feed.
Notes
- Typically, all-purpose flour is used for Amish starter. However, I have found that bread flour can be substituted with success.
- If you are not going to be able to feed the starter on a weekly cycle, refrigerate the starter between feeds. It’s best to not go over a month without feeding the starter.
- If you bake a lot during the week and only have about 1 cup left, you need to do a second feed. At this point, you can either change your feed day, use your starter until you reduce it by at least half, or discard at least half of the starter before the next feed.
- If you are not going to bake with your starter weekly, you will need to remove at least half of the starter before feeding. This excess can be stored in the refrigerator and used in discard recipes.
- If your starter gets a really sour smell, you need to feed it, even if it’s off schedule. You will need to either reduce your starter so you have between 1 and 11/2 cups before feeding or double the amount you feed the starter. An extra feeding will not hurt your starter.
- Active starter can be frozen in batches of 280 grams (1 cup) for later use. When ready to use it, thaw, feed, and bake.