Rustic Amish Sourdough Loaf
Rustic Amish Sourdough Loaf – Fresh Bread by Dinner
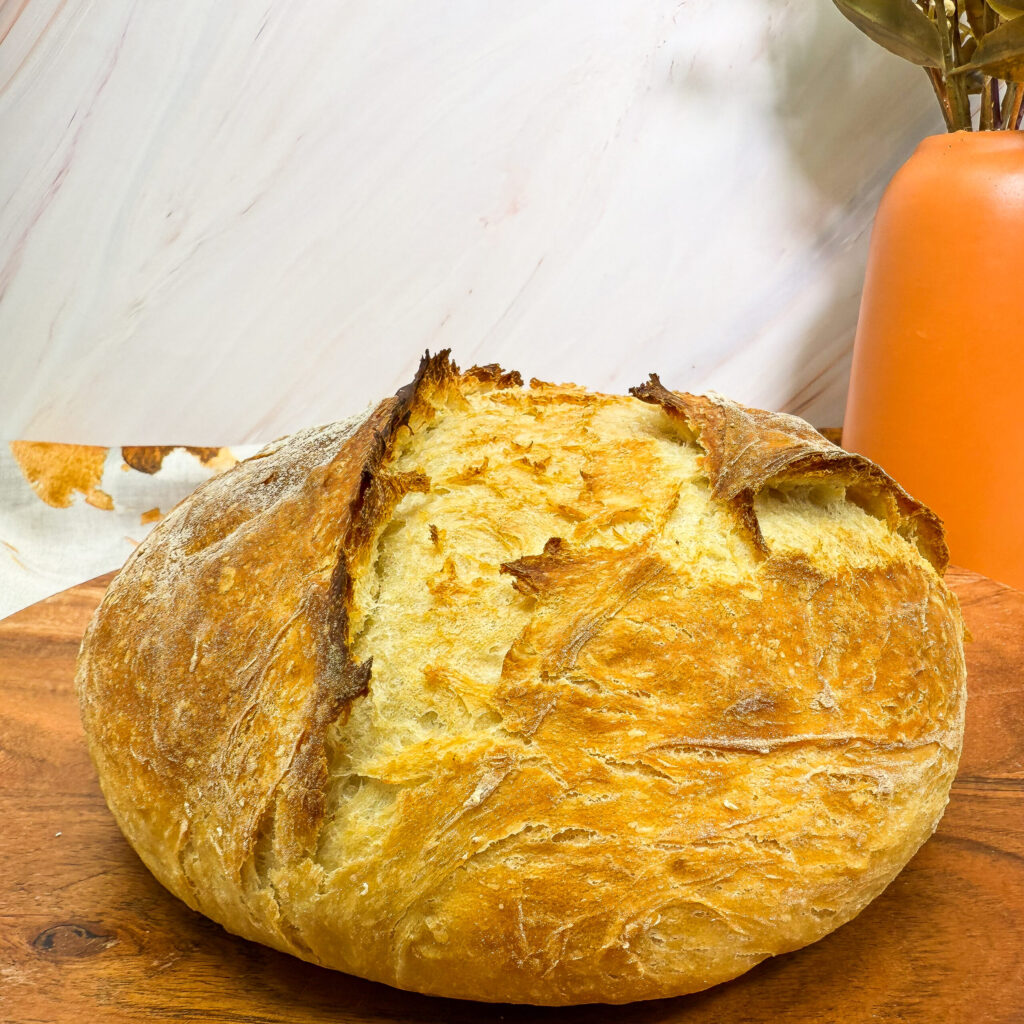
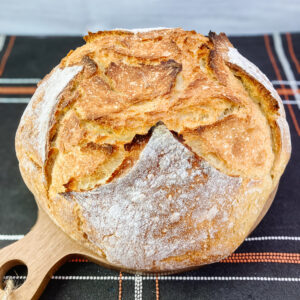
There’s nothing quite like the smell of fresh bread baking in the oven—and with this quick rustic sourdough loaf, you can enjoy a warm, crusty loaf made from your Amish sourdough starter the very same day. Whether you’re planning a cozy dinner or just want a hearty slice of bread with butter, this recipe is fast, simple, and flexible.
A Same-Day Sourdough
Traditional sourdough can take a day or two to ferment and rise, but this recipe shortens the timeline while still delivering that classic sourdough texture and tang. Unlike traditional sourdough, this recipe doesn’t require any stretching and folding, making it perfect for a low-effort, high-reward baking day. Start it in the morning, and you can enjoy freshly baked bread by dinnertime.
Once the dough has been mixed and allowed to rise until doubled, you have two options:
- Bake it right away for same-day bread.
- Or, pop it in the fridge and bake later in the day or the next morning. The cold rest can even help develop a deeper flavor and make scoring easier.
A Perfect Side for Any Meal
This rustic loaf is a great companion to soups, salads, pastas, or charcuterie boards—or just enjoyed on its own with a swipe of butter or drizzle of honey. The crust is golden and crisp, while the interior stays soft and slightly chewy thanks to the milk-based Amish starter.
Keep It Simple or Add Some Flair
The base loaf is a plain sourdough, which makes it perfect for add-ins if you’re feeling creative. Try some of these delicious combinations:
- Jalapeño cheddar (a favorite in my kitchen!)
- Honey Sesame
- Sun-dried tomato and basil
- Roasted garlic and rosemary
- Cranberry walnut for a sweet twist
- Everything bagel seasoning for a flavorful crust
Just fold your favorite mix-ins into the dough at the beginning or after the first rise and shape as usual.
A Loaf That Fits Your Schedule
What makes this recipe so great is its flexibility. Need it fast? Rise and bake in a few hours. Want to prep ahead? Chill the dough and bake later. Whether you’re new to sourdough or looking for a go-to loaf with fewer steps, this rustic Amish sourdough delivers both flavor and convenience.
Want to learn how to start your own Amish sourdough starter?
Check out my full guide here: jordetshomemadedelights.com/amish-sourdough-starter
Rustic Amish Sourdough Loaf
Equipment
- 1 Large Glass Mixing Bowl
- 1 Digital Scale or Measuring Cups & Spoons
- 1 Dutch Oven or Bread Oven
- 1 Dutch Whisk or Wooden Spoon
- 1 Parchment Paper
Ingredients
- 360 grams (1½ cups + 4 tsp) warm water approximately 110℉
- 7 grams (1 packet or 2¼ tsp) instant or rapid yeast
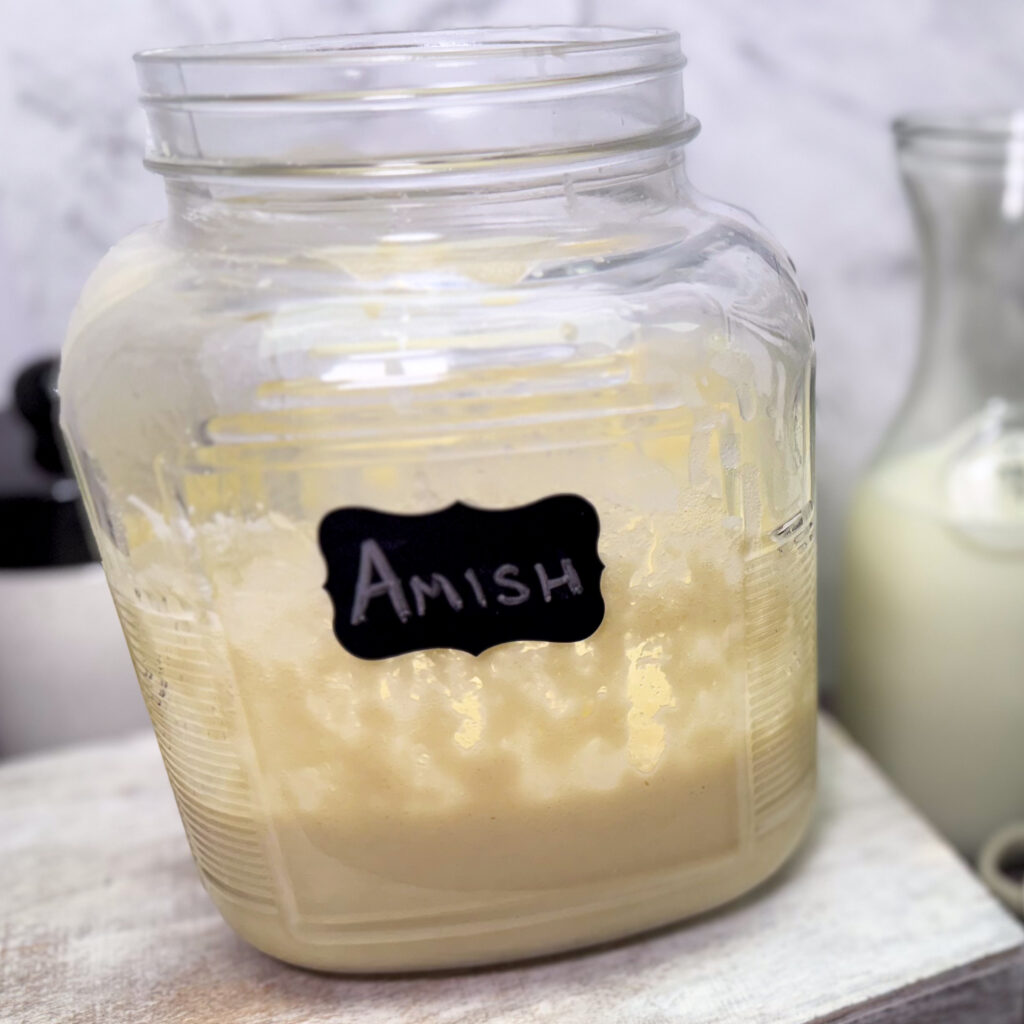
- 100 grams Amish sourdough discard from unfed starter
- 450 grams (3¾ cups) bread flour
- 10 grams (1⅔ tsp) salt
Instructions
Bloom Yeast
- Mix warm water and yeast in large glass bowl, and let it sit for 5 minutes.
Mix Dough
- After yeast has bloomed, add discard, bread flour, and salt to the bowl.
- Stir with Dutch whisk or wooden spoon until ingredients are fully incorporated. The dough will be shaggy and slightly rough in texture.
Bulk Ferment
- Cover the bowl with plastic wrap or place it inside a large plastic bag, then let it rest in a warm spot until the dough has nearly doubled in size—this usually takes 1 to 2 hours, depending on the room's temperature.Note: You can immediately bake the bread once the dough has doubled in size, or you can cold proof/rest the dough before baking.
Cold Proof/Rest (Optional)
- Once the dough has nearly doubled in size, gently shape it into a ball. Lightly wetting your hands can help prevent the dough from sticking to your fingers during this step. If the dough is too wet or sticky, use flour to shape it.
- Place dough back into bowl, and cover with plastic wrap or place it in a plastic bag, then let the dough rest in the refrigerator for at least an hour. This rest period can be extended as needed if you plan to bake later in the day.
Baking the Bread
- When ready to bake, place Dutch oven in your oven and preheat to 450℉.
- While oven is preheating, shape dough into a ball. Note: Lightly wetting your hands can help prevent the dough from sticking to your fingers during this step. If the dough is too wet or sticky, use flour to shape it.
- After shaping the dough into a ball, place it onto a piece of parchment paper. If desired, score the surface to control how it expands during baking—otherwise, it will naturally split as it rises in the oven.
- Using oven mitts, carefully remove the Dutch oven from the oven and take off the lid. Lift the dough by the edges of the parchment paper and gently place it into the hot Dutch oven, then cover with the lid.
- Bake at 450°F with the lid on for 20 minutes.
- Reduce the oven to 350℉, and remove the lid. Continue baking for another 20 minutes, or until the bread reaches your preferred level of browning.
- Allow the bread to cool for at least an hour before slicing. Cutting into it too soon can prevent the crumb from fully setting, often resulting in a gummy or sticky texture.